How is Wood Veneer Produced?
Follow the timeline below to see how wood veneer is made.
Step 1
Logging
The production of wood veneer begins with the logging process. Trees are carefully selected and felled in the forest, ensuring that the best quality logs are chosen for veneer production. Once felled, these logs are transported to the veneer mill, where they will undergo further processing to become thin sheets of wood veneer.
Step 2
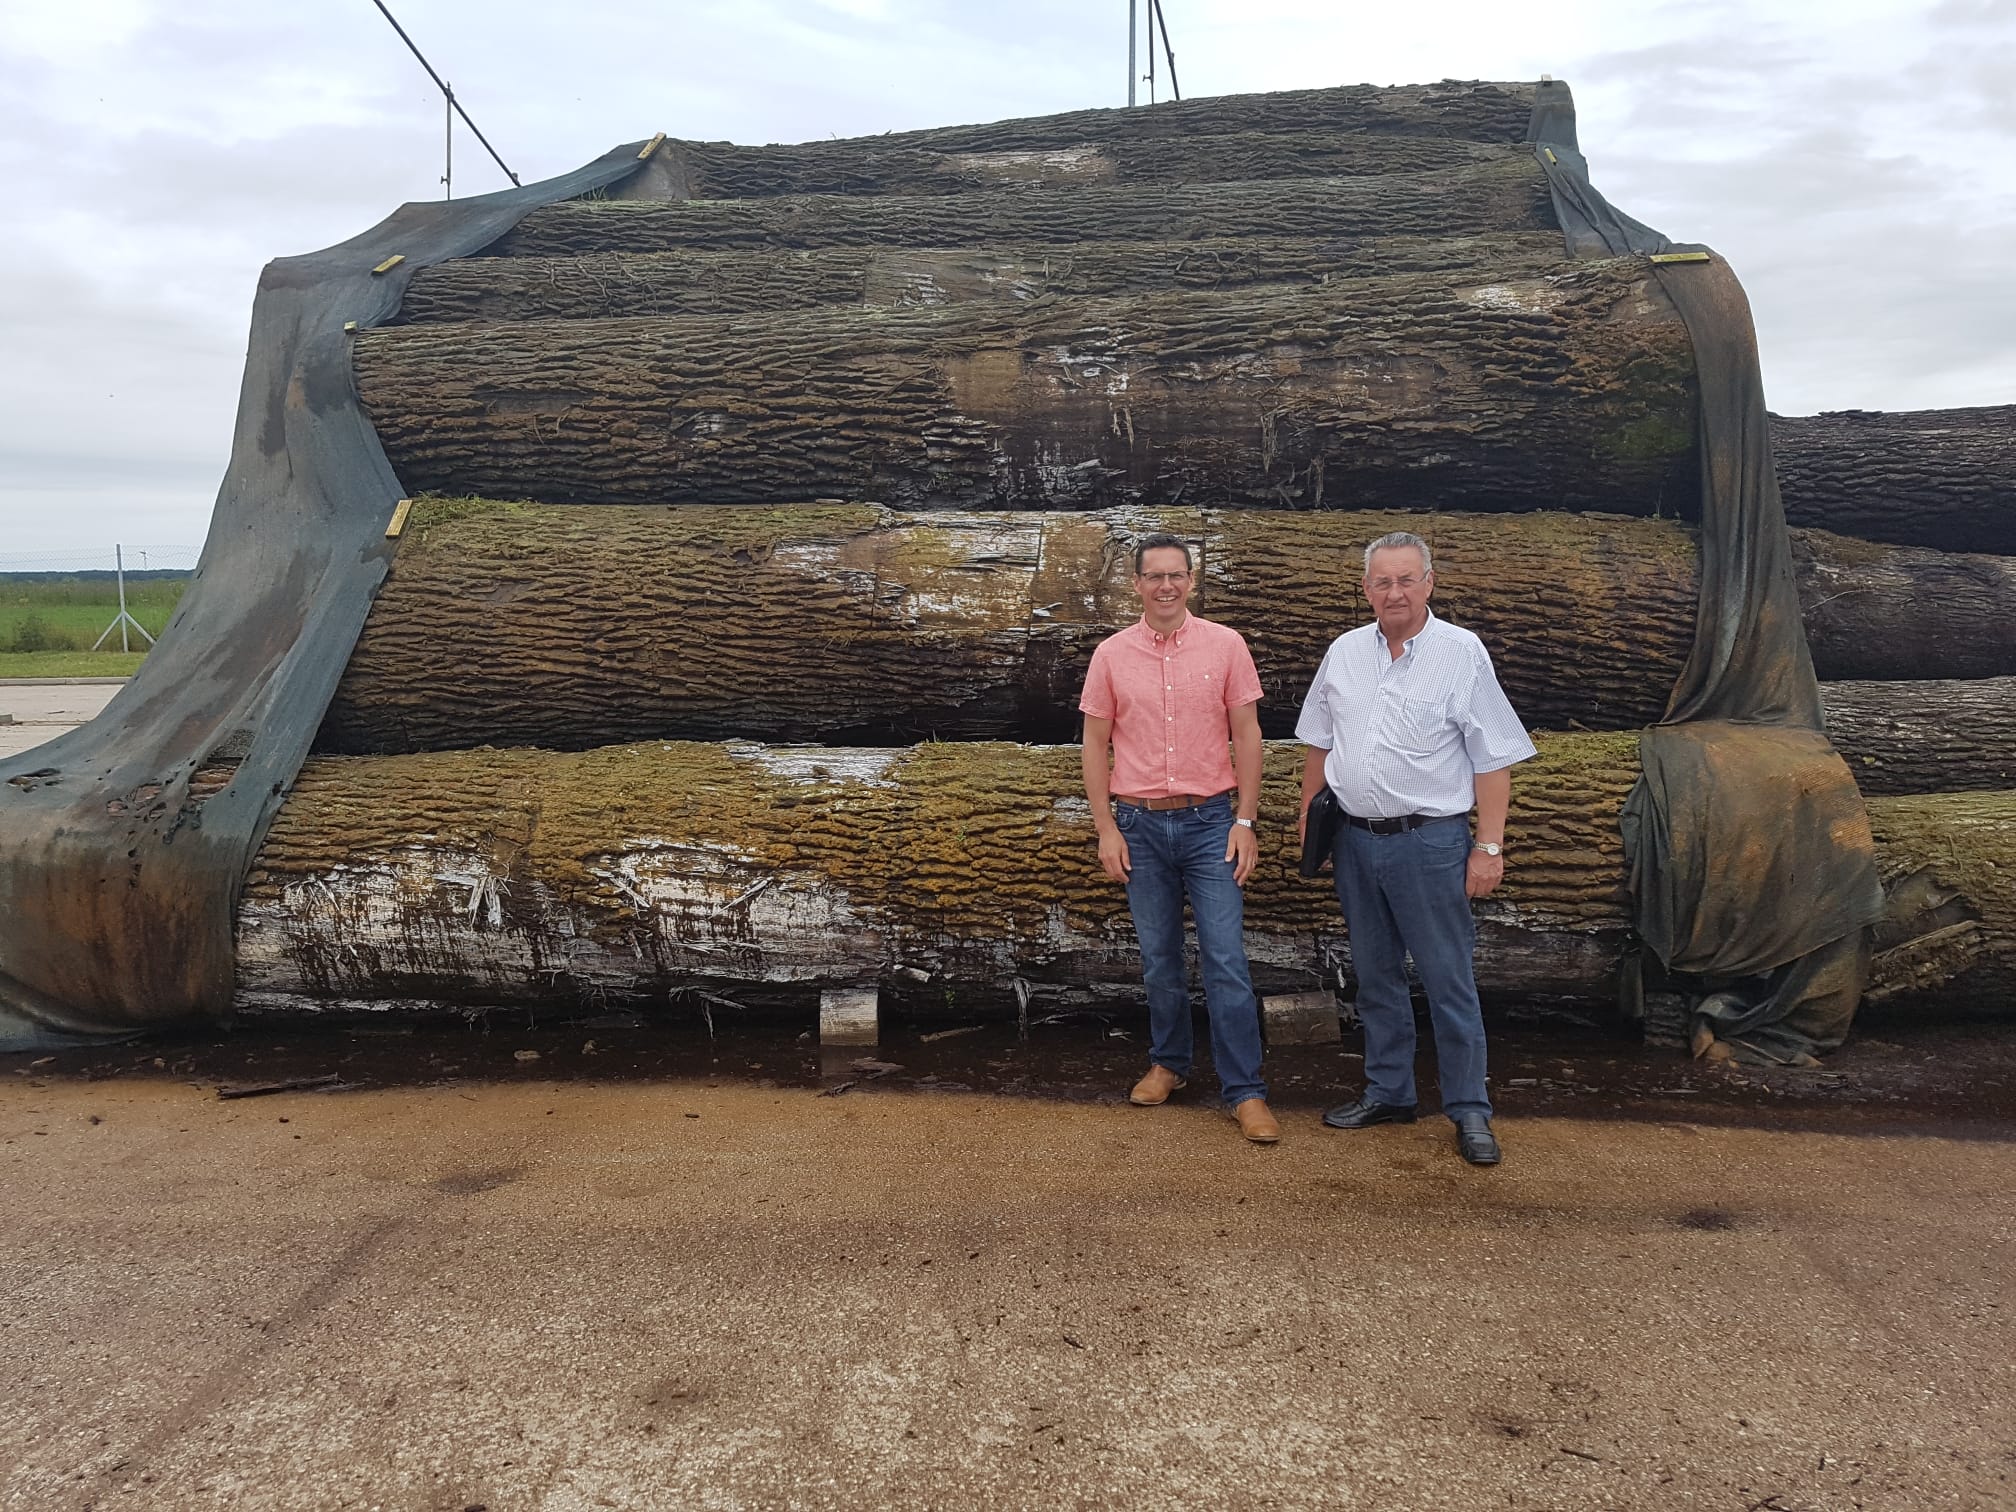
Selection
Now at the veneer mill's log yard, the logs are carefully managed to maintain their quality. They are constantly sprayed with water to prevent splitting and to keep them moist. This is crucial for ensuring that the logs remain in the best condition for processing. Here, the logs are also graded based on their quality and characteristics, and the best ones are selected to be made into wood veneer.
Step 3
Debarked, Flitched and Squared
Once a log has been selected to be made into veneer, it is taken into the mill for initial processing. The first step is to debark the log, removing the outer bark to expose the wood underneath. The log is then flitched into sections and squared up, preparing it for the veneer cutting process. This ensures that the log is in the optimal shape and size for producing high-quality veneer sheets.
Step 4
Cooked
The raw flitches are then moved by overhead crane from the saw operator to huge vats of boiling hot water. The heat and moisture soften the wood, ensuring it is pliable and ready for precise slicing into thin veneer sheets. This cooking process is the most crucial stage of veneer manufacturing. Timing is critical; too much time in the water can cause the log to change colour, while too little time will make the wood very hard to cut. Improper timing can lead to buckling and rough cutting, affecting the quality of the veneer.
Step 5
Moved
Once the logs have been cooked to perfection, they are transported to the slicing machines. Depending on choice of cut, the flitches will be sliced on different machines.
Step 6
Sliced
In the slicing stage, the prepared flitch is clamped to one side of the slicing machine, while the other side with the blade moves flat against it. Once initiated, the flitch moves up and down, slicing the veneer against the sharp blade. This method ensures precise and consistent cuts, resulting in thin sheets of veneer with smooth surfaces. As the slicing progresses, the veneer is shot out the front of the machine for the operators to catch and lay flat, ready for further processing. This step requires careful monitoring to maintain quality and efficiency in the production of wood veneer.
Step 7
Dried
After the veneer has been sliced, it is soaking wet from its previous bath. It is then transported to the dryers, where the drying process begins. The wet veneer is laid on a flat bed, which then raises up. An agent then lifts each individual sheet, where an overhead vacuum bed holds the veneer and runs it through the entire length of the dryer. These dryers are as long as an Olympic-sized swimming pool. At the end of this machine, there are two agents who stack the dry veneer into bundles, ready for the next step: clipping. This drying process is essential for removing excess moisture from the veneer, ensuring it is stable and ready for further processing.
Step 8
Clipped
In the clipping process, the dried veneer bundles are moved from the dryers to a clipping line. Here, an agent marks up the veneer bundles using chalk to help the guillotine operator identify where the bundles need to be cut. This marking process is crucial for ensuring precise cuts and removing any imperfections from the veneer sheets. The guillotine operator carefully cuts along the marked lines, trimming away any defects and creating uniform veneer sheets ready for further processing or packaging. This stage plays a vital role in maintaining the quality and consistency of the wood veneer products.
Step 9
Graded
After the veneer has been clipped, it is taken into the factory for grading. Just before reaching the grading stage, barcode labels are added to the top of each bundle. These barcode labels are crucial for streamlining the grading and sorting process. Highly skilled staff, with years of expertise, meticulously sort and grade the veneers based on customer requirements, utilizing barcode scanners to assign and track each bundle. This ensures efficient and accurate classification of veneers, allowing for seamless integration into the production and distribution processes. The staff carefully examine factors such as grain pattern, color consistency, and surface imperfections to classify the veneers into different grades, maintaining the quality standards expected by customers.
Step 10
Packed
Once the veneers have been graded, they are packed based on customers' orders. This stage involves carefully selecting and arranging the graded veneer sheets according to the specific requirements of each customer. The packaged veneers are prepared for shipping or further processing, ensuring that they are protected during transit and ready for use upon arrival at their destination. Attention to detail is paramount in this stage to ensure that the packaged veneers meet the exact specifications and expectations of the customers.
Step 11
Shipped
After packaging, the pallets of veneers are loaded into containers for shipping to customers. This stage involves coordinating logistics to ensure timely delivery and safe transportation of the veneer products. The pallets are carefully arranged and secured within the containers to minimize the risk of damage during transit. Once loaded, the containers are transported via various modes of transportation, such as trucks, trains, or ships, depending on the distance and destination of the customers. Efficient shipping operations are essential for delivering the veneer products to customers on schedule and in pristine condition, maintaining customer satisfaction and trust in the supply chain process.